Kinder Scout, Mass Trespass and ‘Healthy’ Cereal Bars
Some recipes are a long time in the making.
I’m not referring to the time in the kitchen actually making them – I mean from idea to creating the recipe. Some come together in no time, but others – like this one – take a while to get right.
So I need you to cast your mind back to New Year, when it all began. Imagine it’s winter. Not as cold as expected. Some clear days but lots of rain, mist and fog too.
Ready?
We had gone up to the Peak District to meet family and go walking. A couple of days after New Year we decided to go up Kinder Scout.
If you don’t know it, Kinder Scout is the highest point in the Peak District. It’s an interesting place. It was the site of the Mass Trespass in 1932. Around 400 ramblers intentionally trespassed on the land to demonstrate against the fact that walkers didn’t have access to areas of open countryside.
It was the start of a whole series of events that culminated in the National Parks being established in England and Wales – the Peak District was the first in 1951. (You can read the whole story here if you’re interested)
Anyway – I digress.
Our visit to Kinder Scout started in reasonable weather. But, despite the sunny forecast, an hour or two later things had changed dramatically and we were walking along in driving, freezing rain with not a lot of visibility. I could see about 5 yards.
As I plodded along at the end of the line my family kept disappearing in and out of the mist. The only thing I could reliably see were the neon yellow gloves my husband was wearing (a Christmas present) – something like this…

…picture drawn on ipad (courtesy of Youngest Son) gives you the idea
If you would like to see what we should have been seeing then look
here.
As I plodded in these less-than-ideal conditions, I couldn’t help thinking things like:
Q: “What am I doing here?”
and..
Q: “Should I go home now?”
..to which the answers were variously “I forget” and “yes definitely!”.
(This must be the point at which I enter the disclaimer that of course you shouldn’t climb mountains in bad weather – and we hadn’t quite meant to, but fortunately one of our party was a trained Mountain leader who knew the country well and loves the challenge of navigating through the cloud with only a soggy map and a compass! – and yes, a GPS in the backpack if all else failed)
But once those questions are settled you are then onto to other important matters such as:
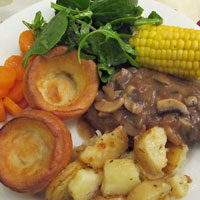
Q: “How long till lunch?”
And suddenly you’re thinking about Cereal Bars – and how nice it would be to have one – and what is in them anyway – and surely you could make them?? (And yes, of course you can, but…)
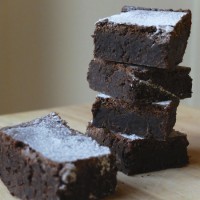
…Making Cereal Bars
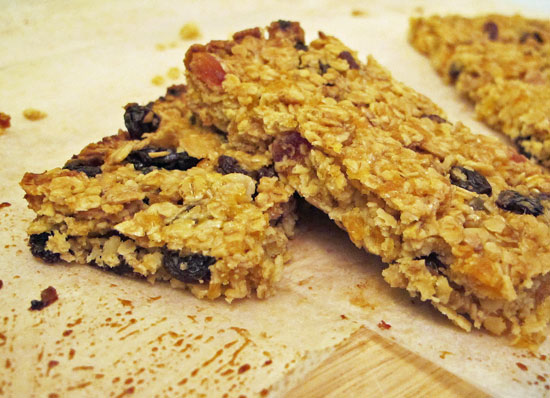
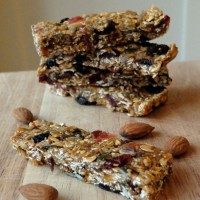
So, I wanted to make healthy cereal bars – lots of oats, muesli, a bit of butter, honey instead of sugar, and lots of dried fruit.
I went through several iterations – some too chewy, some too oaty, and others way too crumbly. A major problem was trying to get the mix to keep any sort of bar shape. Some had to be eaten with a spoon, or possibly a hoover.
(Interestingly, it turns out that I’m not the only one who has had difficulties getting them to stay in one piece).
Others just tasted a bit bland and too – well – healthy, if you know what I mean.
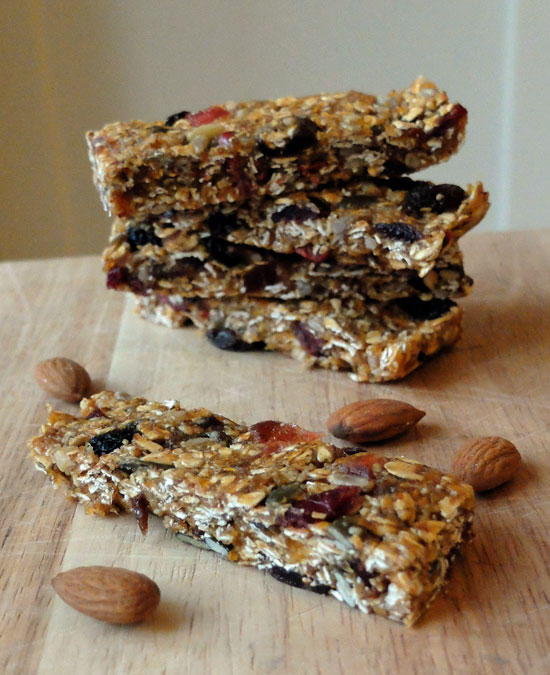
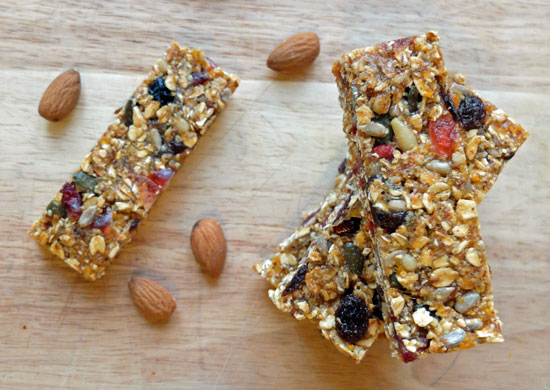
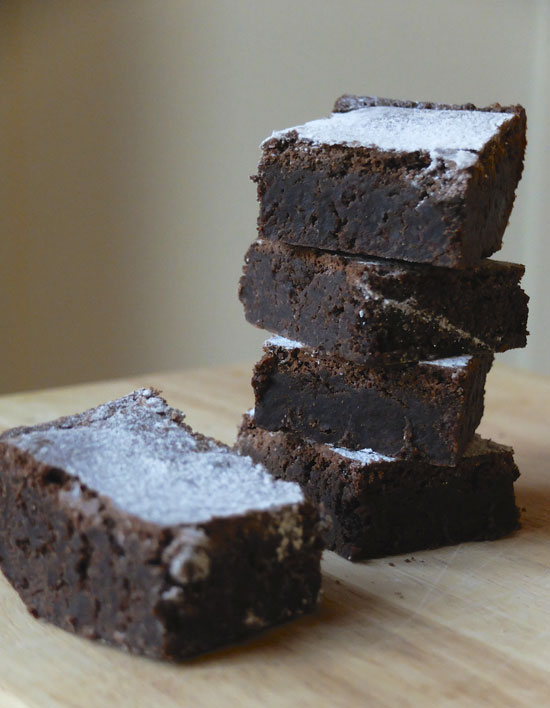
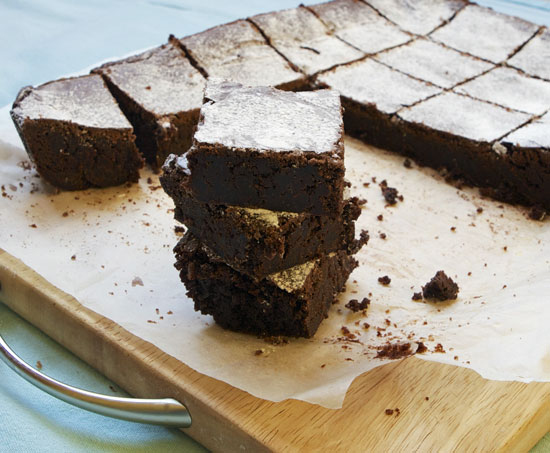
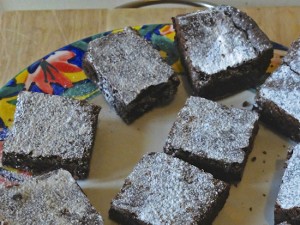
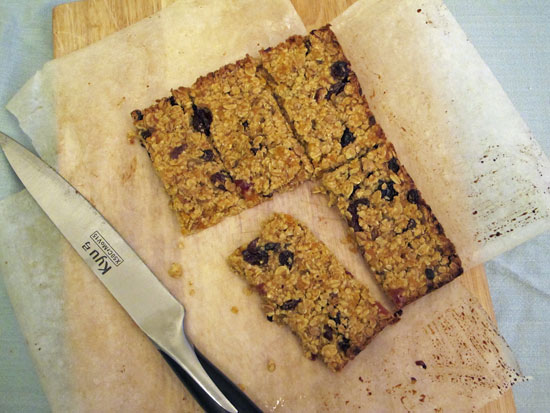
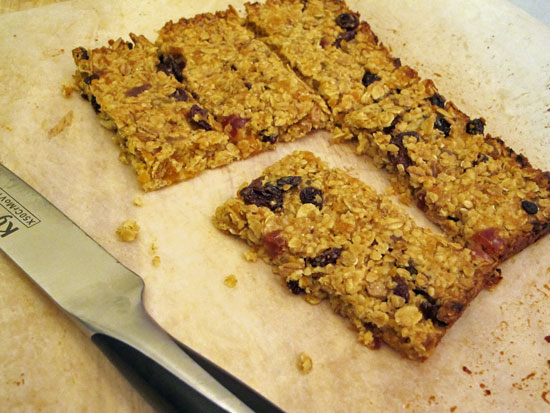
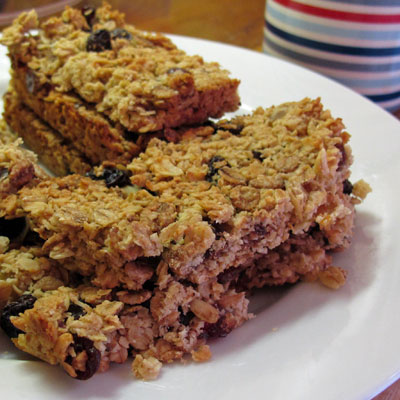
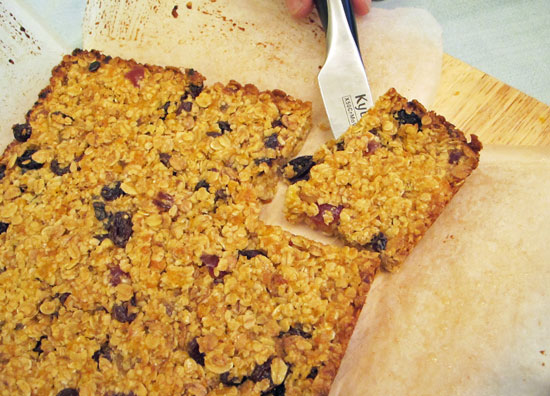
But finally with more dried fruit and a longer cooking time the result was a lovely toasty oaty bar – absolutely packed with dried fruit. Sweet but not too sweet. Perfect for lunch boxes I think.
I did say that the remit was to make healthy cereal bars, and it really was. But I must confess to a moment of doubt – after all these are homemade and therefore probably not as robust as the commercial variety.
So – if you are trekking a long way and you have to be absolutely certain they won’t crumble under the pressure of everything else in your rucksack, (and for no other reason that I can think of) you can always give them a layer of chocolate.
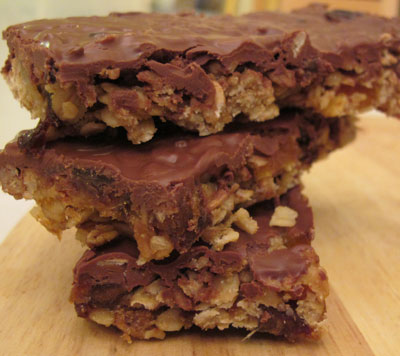
They are lovely either way. With chocolate they taste like something that you would (have to?) walk a good few miles for. But just think of all those calories you’ll burn…
Apricot Cereal Bars + Chocolate
(Makes about 16)
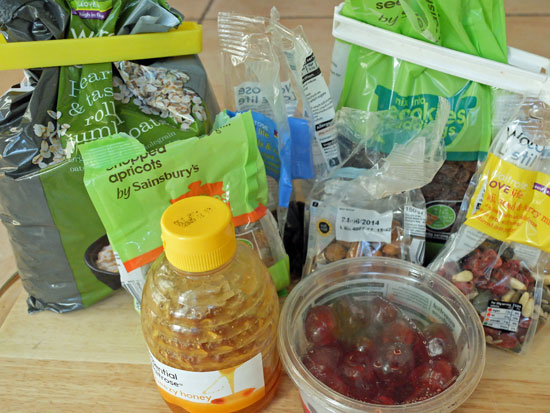
Ingredients
- 75g apricots
- 75g butter
- 3 tablespoons honey (this may sound obvious but choose one you like the taste of)
- 2 tablespoons soft light brown sugar
- 100g muesli (I used Dorset Cereals Fabulously Fruity muesli)
- 100g porridge oats
- 50g mixed dried fruit (raisins, cherries – whatever you like – chopped)
- 150g dark or milk chocolate (optional – they taste great without too)
Method
- Heat the oven to 180°C. Line a square baking tin with baking paper, buttered well (I used one 20cms square).
- Put the apricots into the food processor and blitz until chopped really small and beginning to clump together.
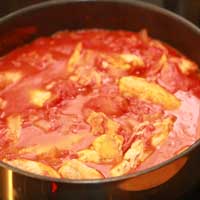
- Melt the butter, honey and sugar together either for a minute or two in the microwave, or in a small saucepan. Be careful not to boil / burn the mixture.
- Put all the other ingredients into a mixing bowl.
- Add the melted butter mixture to the dry ingredients and mix well until all evenly covered.
- Put the oaty mixture into the baking tin and spread out evenly. Press down hard with the back of a spoon or lay another piece of baking parchment over the top and press down firmly with the heel of your hand.
- Bake in the oven for about 20 mins until turning golden brown on top.
- If you want to add chocolate, allow them to cool a little first. Melt the chocolate in a metal dish over a saucepan of boiling water, taking care that the water does not touch the bottom of the bowl. When melted spread the chocolate evenly over the top of the oat mixture.
- When it has cooled and properly set, cut into bars using a really sharp knife.