This ice-cream should probably come with a warning or two.
Firstly – this ice-cream is so gorgeous that you may find yourself making it far too often and eating far too much of it.
Secondly – it’s not a quiet recipe to make, so if you’re planning to serve it up during a peaceful evening with friends, it may break up the ambiance somewhat unless you have another (preferably sound-proofed!) room you can go and make it in. We tend to eat in our kitchen, so we’re all there together, and the noise this makes as the processor tries to crunch up pieces of frozen fruit is a bit of a conversation stopper.
Also, do make sure that your food processor is robust enough for this sort of activity.
But – having started with the negatives, and they say you should never do that – there are so many positives. It is delicious. Creamy. Packed with fruit. And really quick to make. And a great reminder of summer now that’s it’s disappeared.
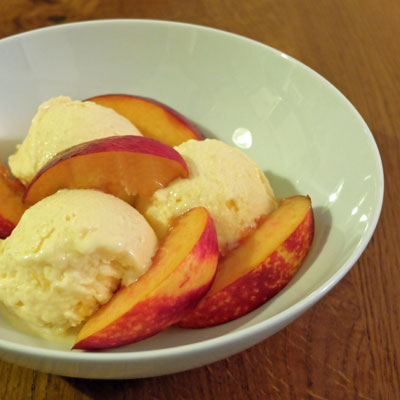
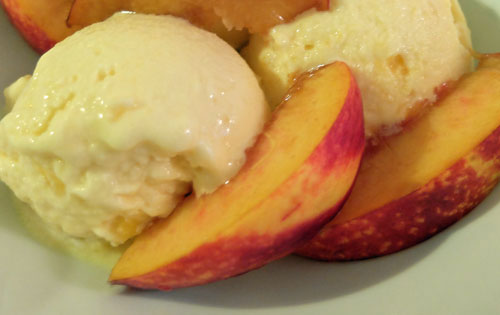
5 minute Peach Ice-cream
(Serves 4 – 6)

Ingredients
- 400g frozen sliced peaches – preferably frozen in small chunks
- 2 tablespoons icing sugar
- 170mls single cream
- ½ teaspoon of vanilla extract
Directions
- Put half of the frozen peaches in the food processor and process until small chunks – then add the other half and the sugar and process until pureed. Try to use small pieces of fruit – the larger they are, the louder the noise and the more likely your food processor is to try and shake itself off the table.
- When the sugar is mixed in, taste to make sure you’ve added enough. Then, whilst the motor is still running add the vanilla and pour the cream in slowly till all combined
- You should by now have soft-scoop style peachy ice-cream. It should be ready to serve immediately, but you can always freeze for later. If you do, remember to take it out of the freezer a few minutes before you want to eat it as it will need to soften.


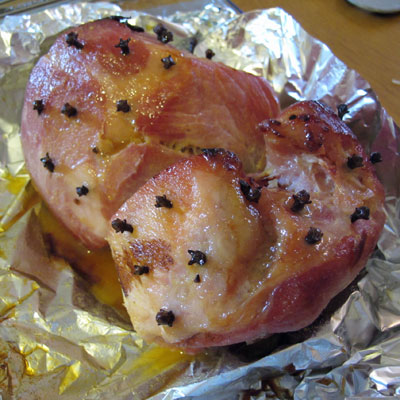


 Roast Honey and Mustard Glazed Ham