
Summer took so long coming, and is now going fast! But even though there has been a definite autumn nip in the air, you probably – like me – want to cling on to the last vestiges of summer and don’t want to spend hours over a hot stove.
This is a really quick simple meal to put together. Try and find some really ripe tomatoes for this to get a lovely juicy summery flavour. Serve it with a salad, and that’s probably all you need.
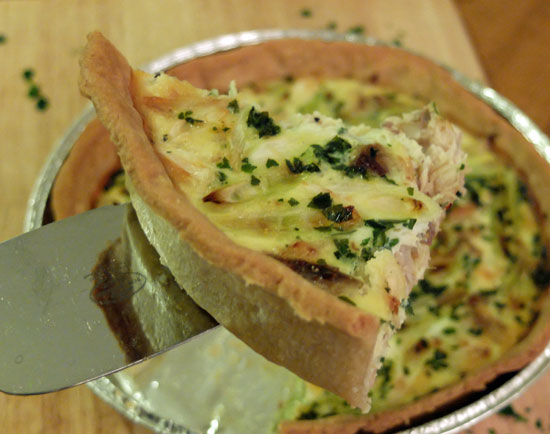
Tomato, Mozarella and Basil Tart
(Serves 4 generously)
Fridge to table time: <30 mins

You will need:
- 320g sheet of ready rolled puff pastry
- About 5 medium sized ripe tomatoes
- 250g mozarella, grated
- ~10 fresh basil leaves
Method
- Put the oven on to 200 C and grease a baking tray thickly with butter or the tart can tend to stick which is annoying – particularly as it is the lovely crispy bits of pastry which to my mind are one of the best bits.
- Score the pastry gently with a knife all the way round the outside, about 1 cm in from the edge, but be careful not to cut all the way through.
 Chop the basil leaves roughly and scatter
over the base of the tart. Wash and slice the tomatoes and arrange in
one layer on the pastry, inside the scoring. Sprinkle the grated mozarella evenly over
the tomatoes, again keeping inside the
knife marks. Cook in the oven for about 20 minutes at 200.C
until the pastry is crisp and both pastry and
cheese are golden brown.- Serve with a fresh herby green salad. You can sprinkle with parmesan to add an extra cheesey taste.