(If you’re busy, the best meals are, of course, those cooked by someone else! This post is written by our teenage Guest Blogger. If you have ever been put off making homemade pizza as it seems too complicated and difficult – don’t be! You can freeze the dough too – although we’ll let you know next time what the best way to do this is. But if you have some made-ahead dough you can get a meal on the table in almost the time it takes your family to find the take-away menu!
Here are the instructions for making the dough, and the next post will be all about sauce, toppings and how our newly frozen pizza dough turned out when defrosted!)
I don’t know about you but I really love baking!
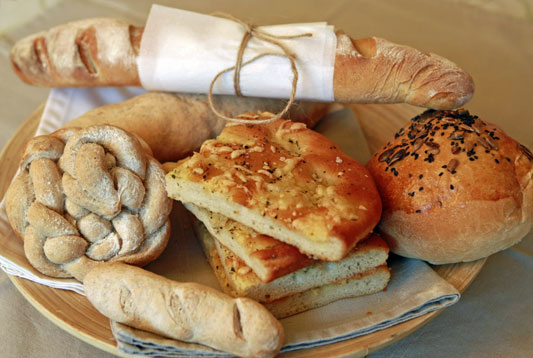
It takes a couple of hours but there are loads of ways to shorten this and the results are almost always good. There are lots of different ways to bake bread, with loads of different techniques, so I figured I would go down to Flavours (our local cookery school) and see how they made the bread. It was a really great day but coolest of all were the results…
(ahem…)…PICTURE!!!…
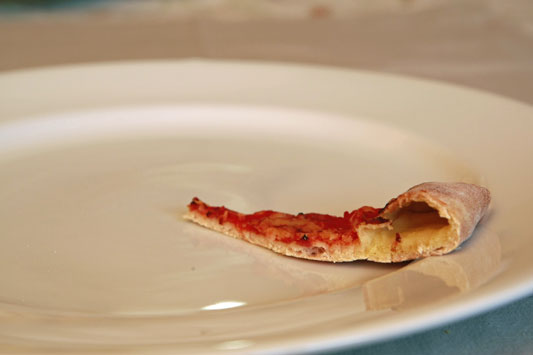
We made all sorts of different types of bread in different styles but the one I’m going to talk about is the pizzas we made. Now, I have to be honest here, baking bread does take a while (probably about 2 hours 20) but what’s great about pizzas is you can make the dough beforehand and freeze it or refrigerate it depending on how long before the meal you’re making the dough. Then you can just take it out, put whatever topping you want on it, and cook it. You don’t get any complaints either, because everyone can choose exactly what they want to go on it. Voila! Great crowd pleaser!
We have experimented with the recipe, to find one that suits us – a hungry family of four who like thin and crispy (unsalty) pizzas.
Ingredients (for the dough):
(Updated 28/02/13)
(makes four large thin and crispy pizzas)
- 400g Strong White Bread Flour
- 1 teaspoon fast action dried yeast
- 1 teaspoon caster suger
- 2 tablespoons olive oil
- ¾ teaspoon salt
- 260ml tepid (hand hot) water
Method:
- Put the flour, sugar, yeast and salt into a bowl, stir to distribute evenly and make a large well in the middle.
- In a jug mix the tepid water (hand hot – i.e. if you put your finger into it it doesn’t feel hot or cold) with the olive oil and pour into the well.
- Using a fork or spoon bring the flour in gradually from the sides stirring it into the liquid. Keep stirring, drawing large amounts of flour in until it is just about mixed together.
- Leave to stand for 5 minutes (this allows the dough to become less sticky)
- Tip the dough out onto a board / worktop sprinkled with flour, and knead until it begins to form a smooth elastic dough. This will take about 5-10 minutes
- Oil the bowl lightly. Place the dough back in the bowl and then cover the bowl with clingfilm and place somewhere warm to rise. It will probably take about an hour to double in size.
- Once the dough has risen, knock back (= punch it down) and turn out onto the work surface again and knead again briefly. Allow to rest for 10-15 minutes – this makes it easier to work with.
- I’ve used this dough for pizza or focaccia
- Cut the dough into four equal pieces. Flour the board and stretch or roll out the dough with a rolling pin into a circle, rectangle or whatever shape you want, to whatever thickness you like. You can do this by hand if you like, but try to keep the pizza base an even thickness all over. We like a fairly thin dough.
- Add your toppings and cook – see next post.
If you’re making pizza:
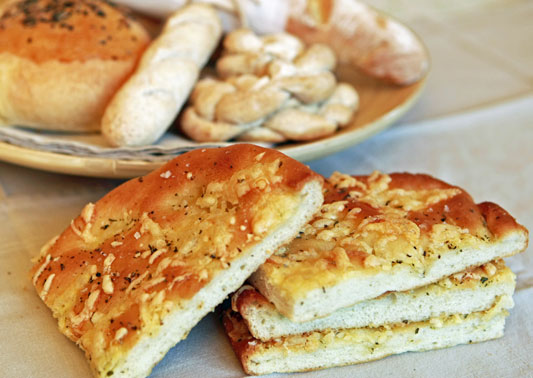
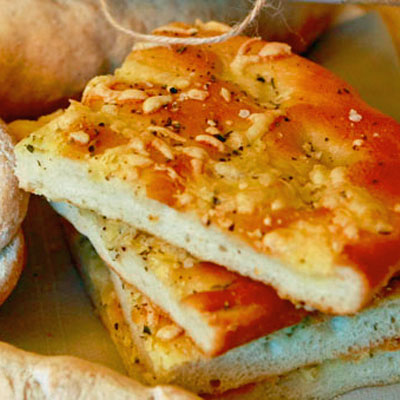
For Foccacia:
- Roll out the dough and place in a baking tray. Spread the dough out across the bottom of the tray using your hands. It doesn’t have to reach the edges.
- Leave in a warm place for about 20-30 mins to rise again
- Once risen, mark the top by pushing your fingertips gently down into the dough – you want a fingerprint about every 5 cms or so
- Drizzle the top with oil. Scatter over salt, fresh chopped rosemary, and grated cheese – and a twirl of black pepper
- Cook in the oven at 220°CC for about 10 mins or until golden on top
- Cut into squares and serve
And here’s the finished result!
We’ll let you know in the next post what we did for pizza sauce and how the dough freezing turned out.
What’s your favourite pizza topping??

